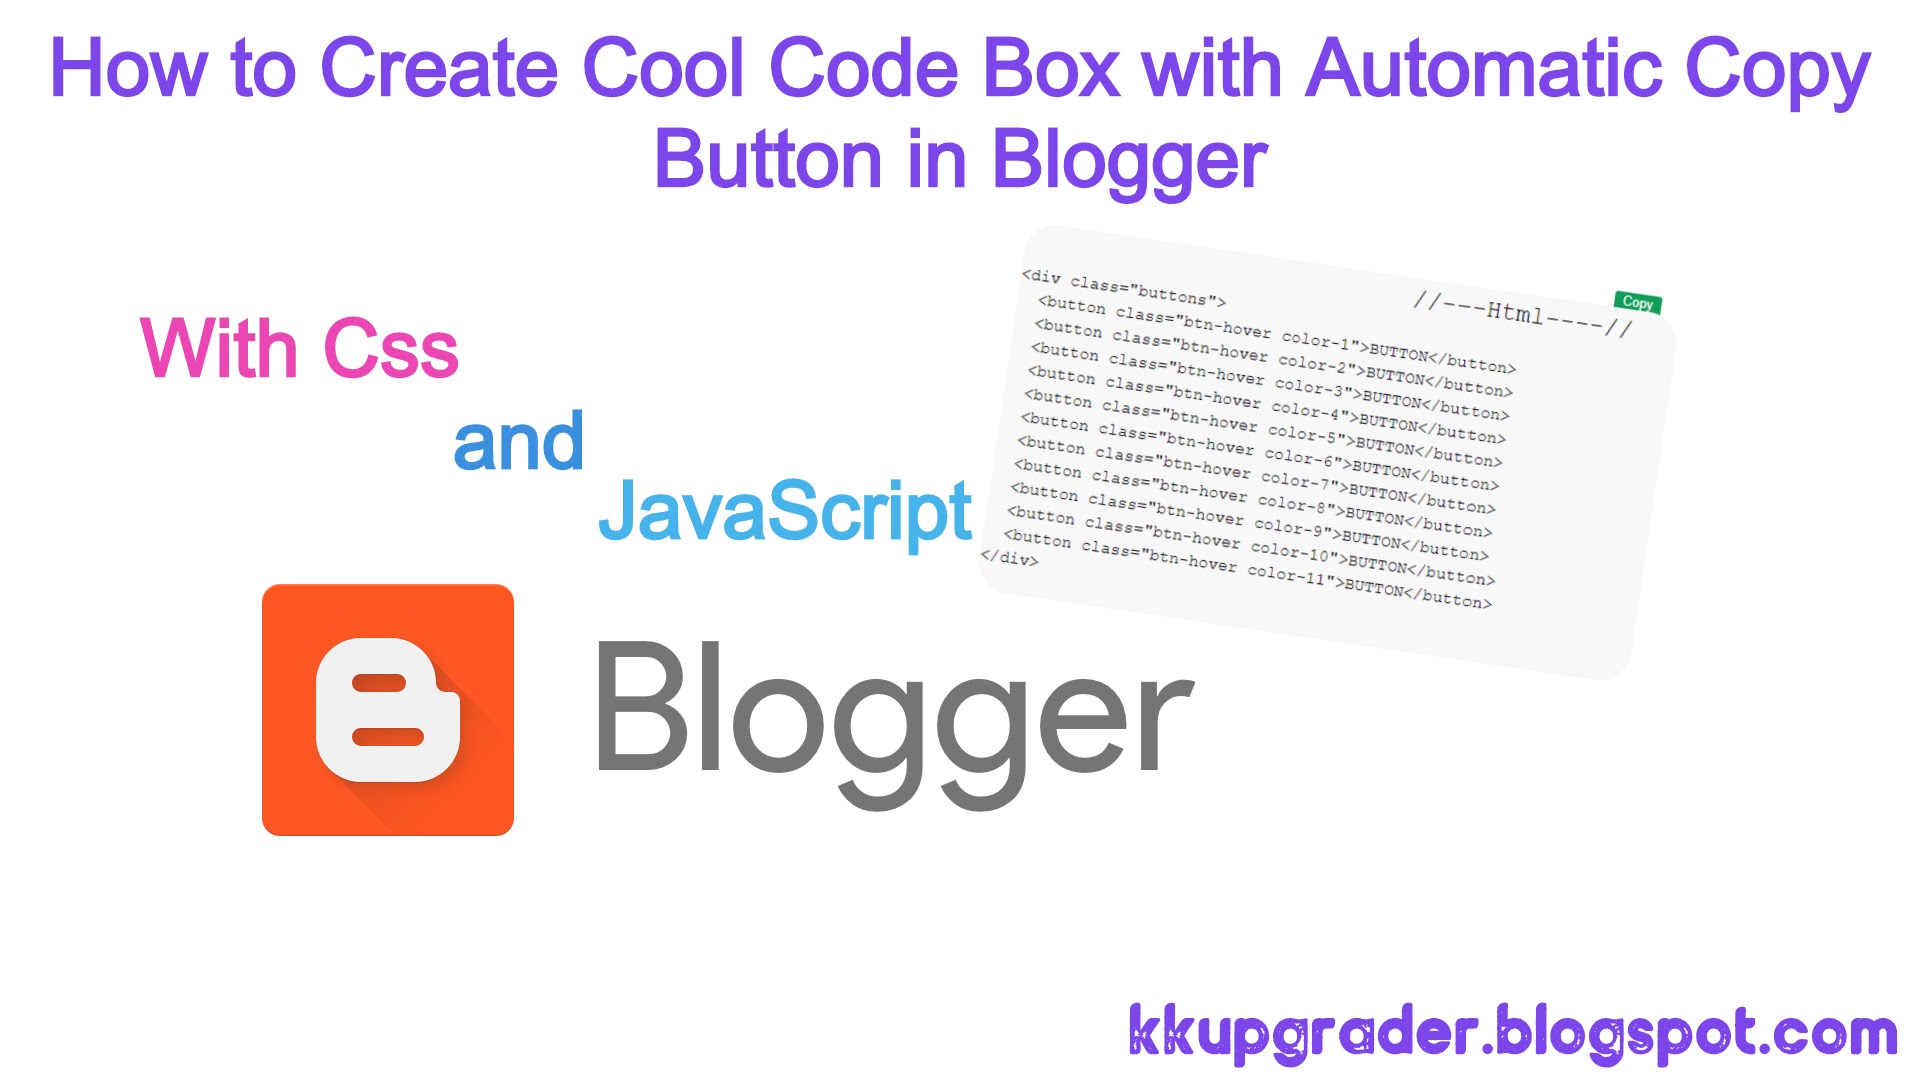
Hi Friends ,Today I gonna show you How to create a Code or Script Box with
Automatic Copy Button in Blogger.
👉What is Code Box?
-
The Code Box is a box in which there is a source code section, this
script box is somewhat similar to the highlighter syntax it's just a
different look.
-
The function of the Code box so that the appearance of the source code
so it looks neat and does not take place, not only that the appearance
of this script box is also a lot of choices and various colors that you
can use to enhance your blog's appearance.
👉How To Install ?
- Login to your Blogger Dashboard
- Go to Theme Section > Edit Html and Find a code .post-body pre with Ctrl+F , You will find code Similiar to below
.post-body pre {background: url(https://blogger.googleusercontent.com/img/b/R29vZ2xl/AVvXsEhBe6BRsfoT39zQlCh_tfgrckFDNfM4-UIpAtALMw1eJMdBQWScOt_BfxPaG4Z_z0edMkKInr-phcKQjFa5dcVidk1OICINe4nKblWIQp-PuxLJlgNsCZPMdiYd4UMnh0z2XHFJswxTt6SA/s1600/pre.png) repeat scroll 0 0 #FBF2F2;color: #888;border-radius:15px;display: block;font: 12px/19px Consolas, 'Andale Mono', Courier, 'Courier New', monospace;margin: 10px 0;overflow: auto;padding: 19px 19px 17px;white-space: pre-wrap;white-space: -moz-pre-wrap;white-space: -pre-wrap;white-space: -o-pre-wrap;word-wrap: break-word;user-select:all;}pre .comment {color: #A57A4C}pre .variable.global,pre .variable.class,pre .variable.instance {color: #DC3958}pre .constant.numeric,pre .constant.language,pre .constant.hex-color,pre .keyword.unit {color: #F79A32}pre .constant,pre .entity,pre .entity.class,pre .support {color: #F06431}pre .constant.symbol,pre .string {color: #889B4A}pre .entity.function,pre .support.css-property,pre .selector {color: #8AB1B0}pre .keyword,pre .storage {color: #98676A}
.copy-code-button {
    color: #fff;
    background-color: #0F9D58;
    border-color: #00ad5c;
    border: 20px ;
    border-radius: 3px 3px 0px 0px;

    /* right-align */
    display: block;
    margin-left: auto;
    margin-right: 20px;

    margin-bottom: -2px;
    padding: 3px 8px;
    font-size: 0.8em;
}

.copy-code-button:hover {
    cursor: pointer;
    background-color: #0fc3ff;
}

.copy-code-button:focus {

    background-color: #b944d4;
    outline: 0;
}

.copy-code-button:active {
    background-color: #00bd0d;
}
- Now Find </body> with Ctrl+F and Paste the Below Code Just Above it.
<script>function myFunction() {var copyText = document.getElementById("myInput");copyText.select();copyText.setSelectionRange(0, 99999);document.execCommand("copy");var tooltip = document.getElementById("myTooltip");tooltip.innerHTML = "Copied: " + copyText.value;} function outFunc() {var tooltip = document.getElementById("myTooltip");tooltip.innerHTML = "Copy to clipboard";}</script><script> function addCopyButtons(clipboard) { document.querySelectorAll('pre > code').forEach(function (codeBlock) { var button = document.createElement('button'); button.className = 'copy-code-button'; button.type = 'button'; button.innerText = 'Copy'; button.addEventListener('click', function () { clipboard.writeText(codeBlock.innerText).then(function () { /* Chrome doesn't seem to blur automatically, leaving the button in a focused state. */ button.blur(); button.innerText = 'Copied!'; setTimeout(function () { button.innerText = 'Copy'; }, 2000); }, function (error) { button.innerText = 'Error'; }); }); var pre = codeBlock.parentNode; if (pre.parentNode.classList.contains('highlight')) { var highlight = pre.parentNode; highlight.parentNode.insertBefore(button, highlight); } else { pre.parentNode.insertBefore(button, pre); } }); } if (navigator && navigator.clipboard) { addCopyButtons(navigator.clipboard); } else { var script = document.createElement('script'); script.src = 'https://cdnjs.cloudflare.com/ajax/libs/clipboard-polyfill/2.7.0/clipboard-polyfill.promise.js'; script.integrity = 'sha256-waClS2re9NUbXRsryKoof+F9qc1gjjIhc2eT7ZbIv94='; script.crossOrigin = 'anonymous'; script.onload = function() { addCopyButtons(clipboard); }; document.body.appendChild(script); } function myFunction() { var copyText = document.getElementById("myInput"); copyText.select(); copyText.setSelectionRange(0, 99999); document.execCommand("copy"); var tooltip = document.getElementById("myTooltip"); tooltip.innerHTML = "Copied: " + copyText.value; } function outFunc() { var tooltip = document.getElementById("myTooltip"); tooltip.innerHTML = "Copy to clipboard"; } </script>- Now You Have Done with Installation.
👉How to Create in Blog Post?
- Go to Edit Your Post
- Change Compose to HTML
- Now Use the Below Code to create code Box and to Replace "/* Your Code Goes Here */" with your Code.
    <pre><code>
/*Your Code Goes Here*/
</code>
</pre>
